Selective Colorization in GIMP - A Tutorial
DISCLAIMER:
I have been reading a lot of Jessica Zafra’s lately. I might have acquired her angsty writing style. Regardless, I am a nice person in general.
I was not born with artistically coordinated hands. I can’t even draw passable stick figures. My right hand sketches are practically as bad as my left. Having a physics background only worsened this ‘skill’ as I was trained to assume and over simplify 3D moving objects as 1D dots and particles connected with hasty crooked arrows. I find art fun but I guess it’s not mutual.
However, in my reality, I am self-proclaimed hipster. And being a hipster means I need to try to be as artsy as possible. From dressing as outrageous as I can to dying my hair neon. Art has been where I vent most of my self expression.
I always wanted to be good at something artistically because obviously art is fun. This is my one step of fulfilling my dream of becoming a future Van Gogh. And I’m not pertaining to our sanity.
Most of the time, I pester my photoshop savvy friends for the most menial photo editing tasks i.e. removing my ever present freckles and blemishes. Don’t get me wrong. I am not vain at all. It’s just that cameras don’t hit my face at the right angles. Only till now have I built courage to explore image manipulation and finally do it myself. Surprisingly, it was not at all hard. I would not write a blog if it is so. Trust me.
The first step if you want to be a ‘manipulator’ is finding a reliable medium (software) to manipulate with. If you have been following my previous posts, you would know that I abhor paid ‘utility’ software. I am not entirely for free platforms like the manipulative facebook.
The software to use is out of the question. I won’t even dare to touch Adobe products. Those wrecked overpriced and RAM hogging monsters. Of course I am biased to Free Open Source Software and the best option for all of us is GIMP.
![]()
GIMP is a cross-platform image editor available for GNU/Linux, OS X, Windows and more operating systems. It is free software, you can change its source code and distribute your changes. Whether you are a graphic designer, photographer, illustrator, or scientist, GIMP provides you with sophisticated tools to get your job done. You can further enhance your productivity with GIMP thanks to many customization options and 3rd party plugins.
Shoutout to the developers and volunteers of GIMP. I feel and applaud you. Long live open-source evangelists. Let’s all fight for free technology for the people.
I was curious about their logo. discuss
Ok. Enough chitchat and let’s get down to the dirty work.
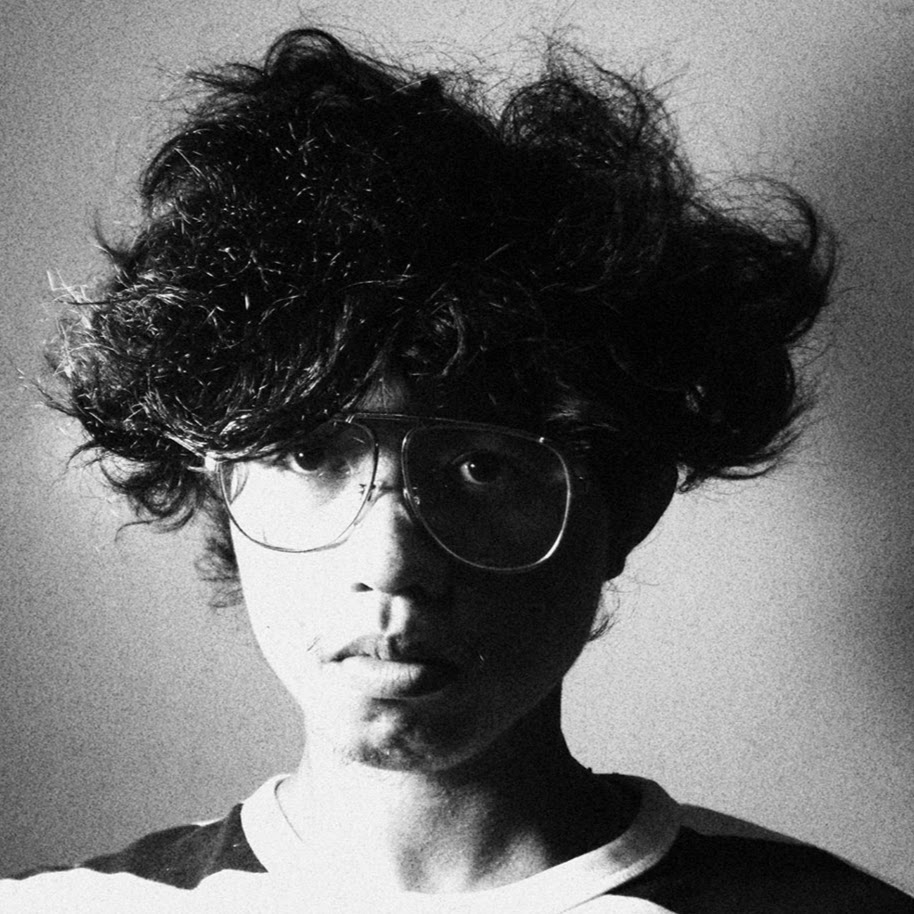
Selective colorization for our purpose is defined as selecting/highlighting an object from an image with the background in grayscale. Like this pretty photo with a pretty object of interest - my face.
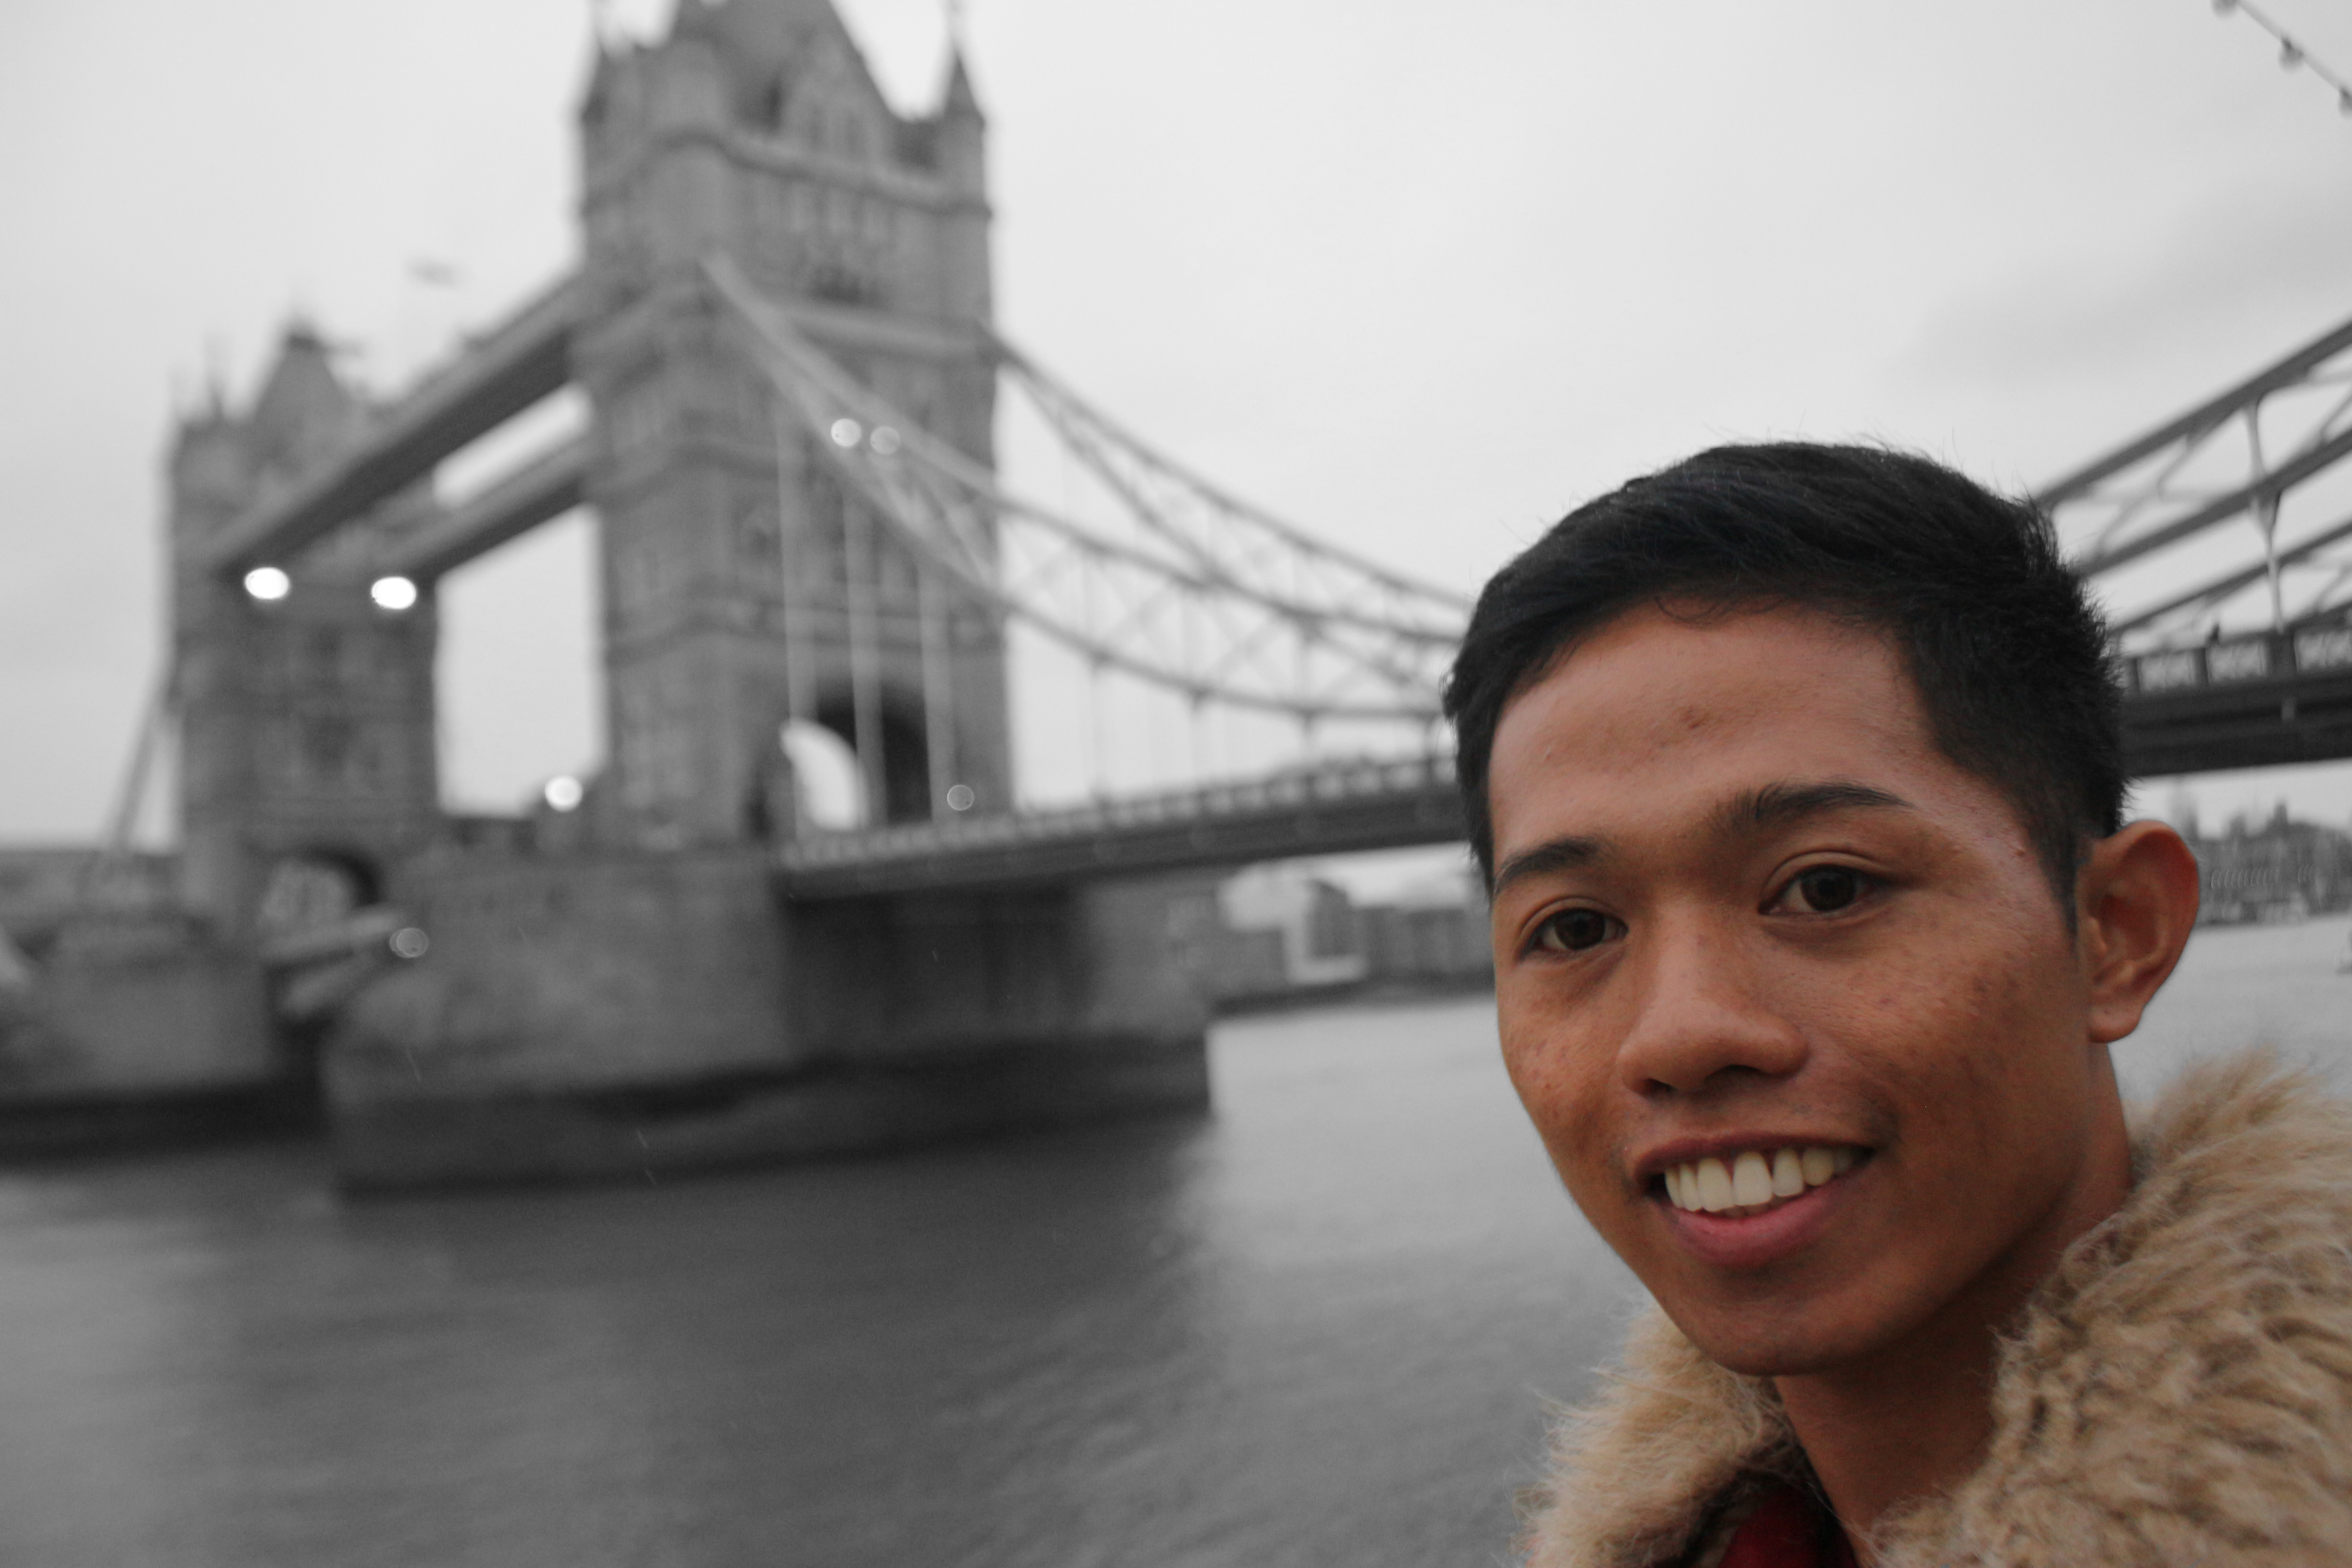
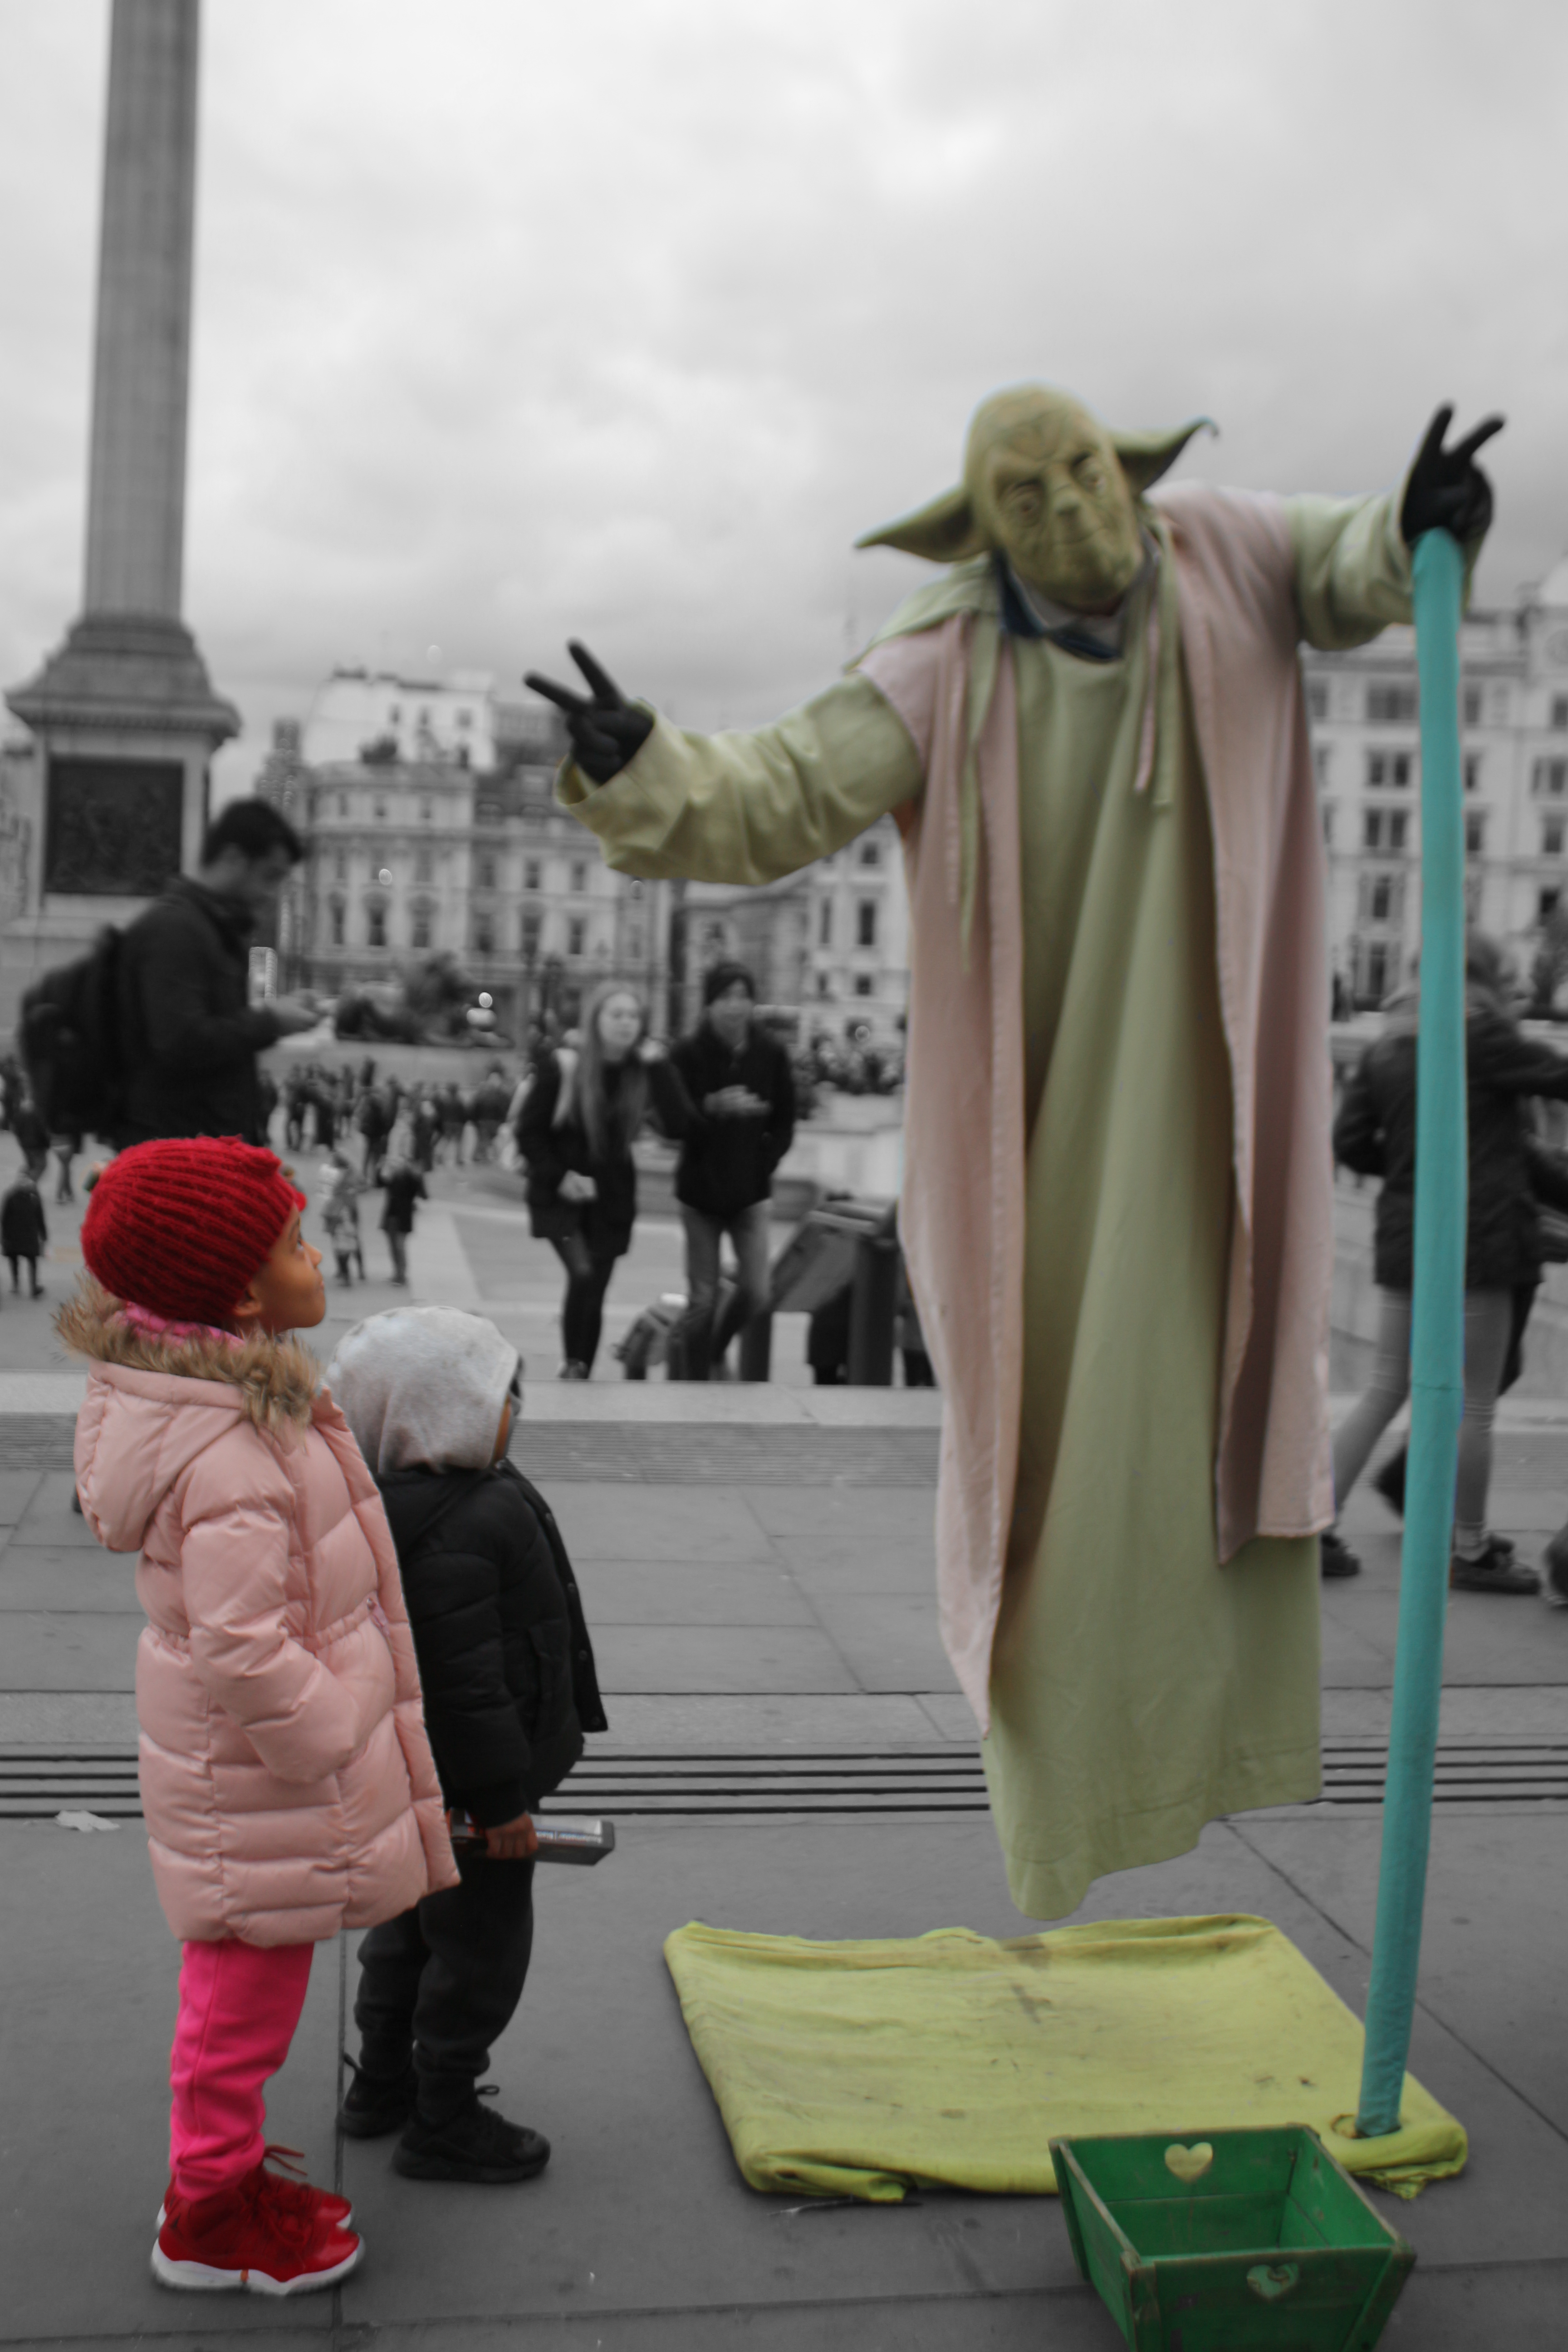
Step 1. Select an image of interest (preferably with outstanding and loud colors for easier separation) and open it with GIMP. Here is my sample image:
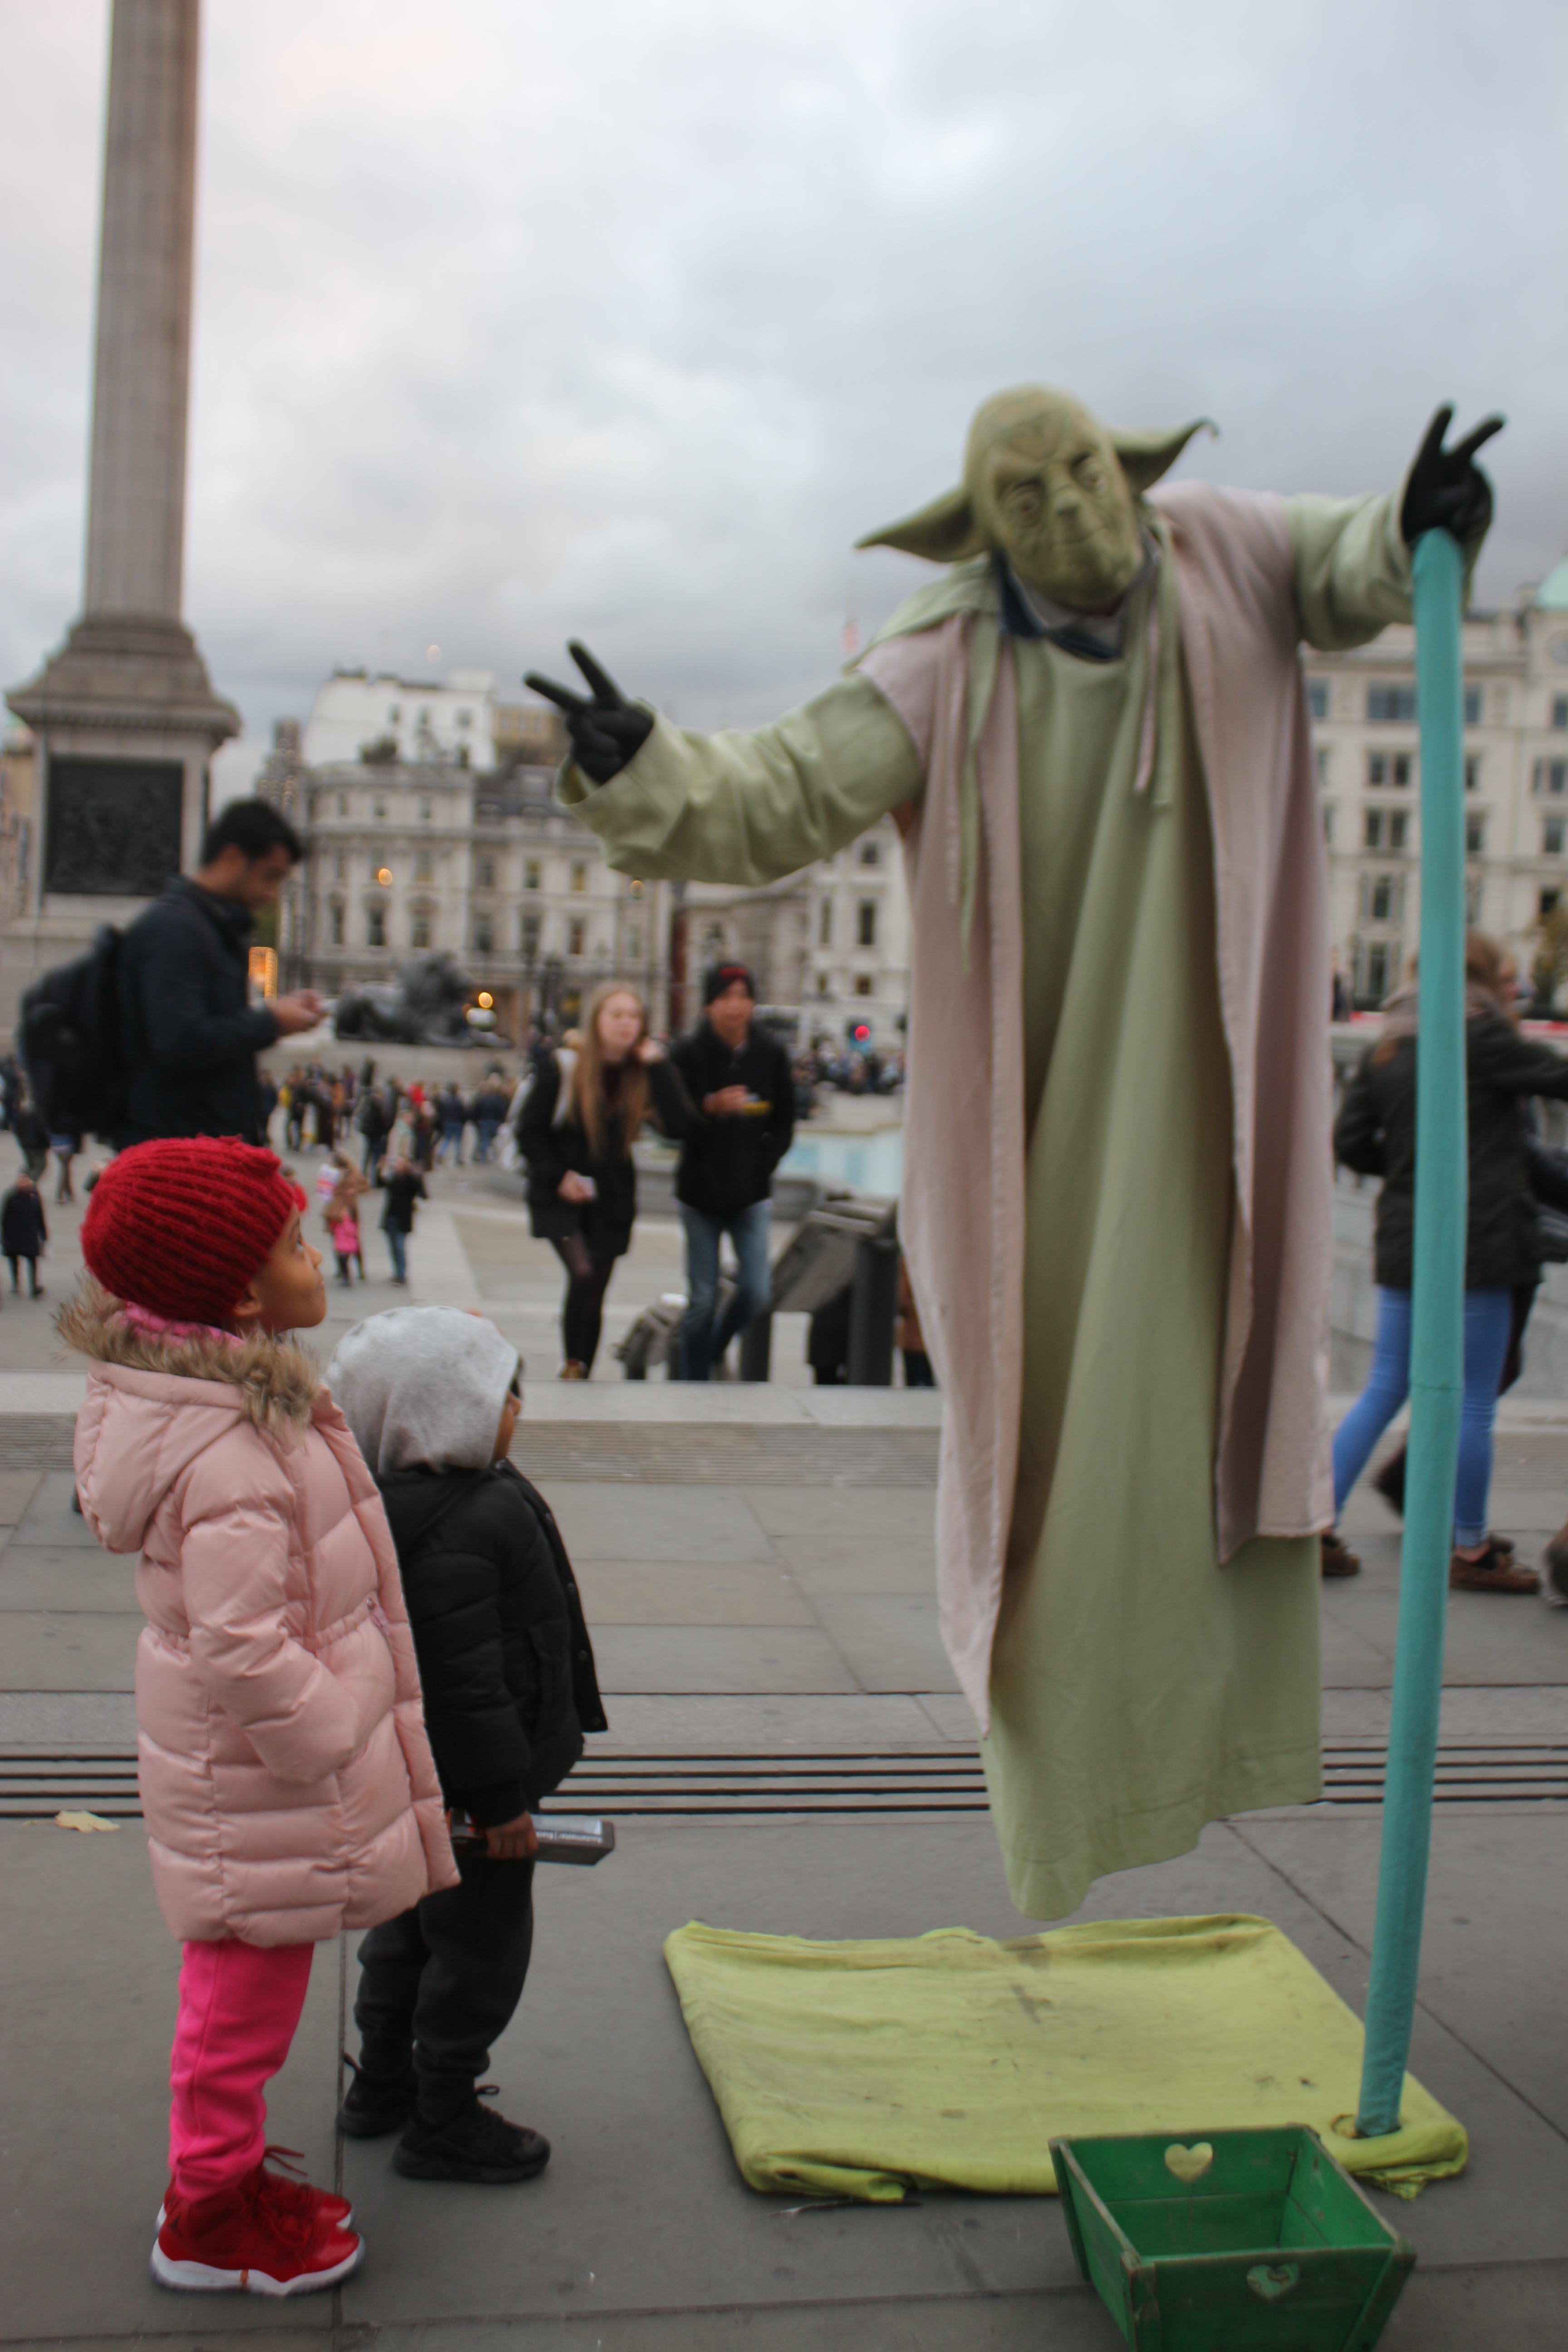
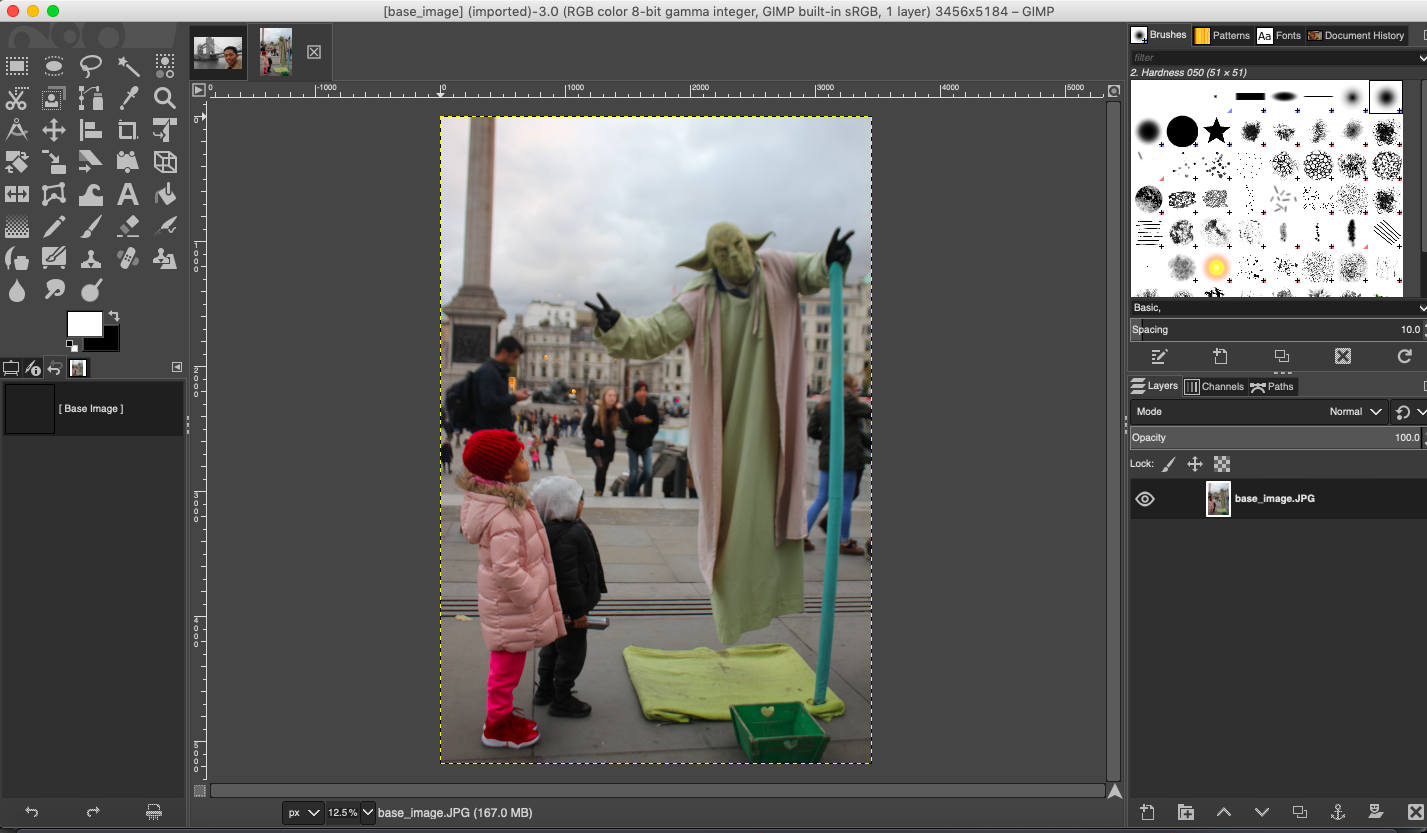
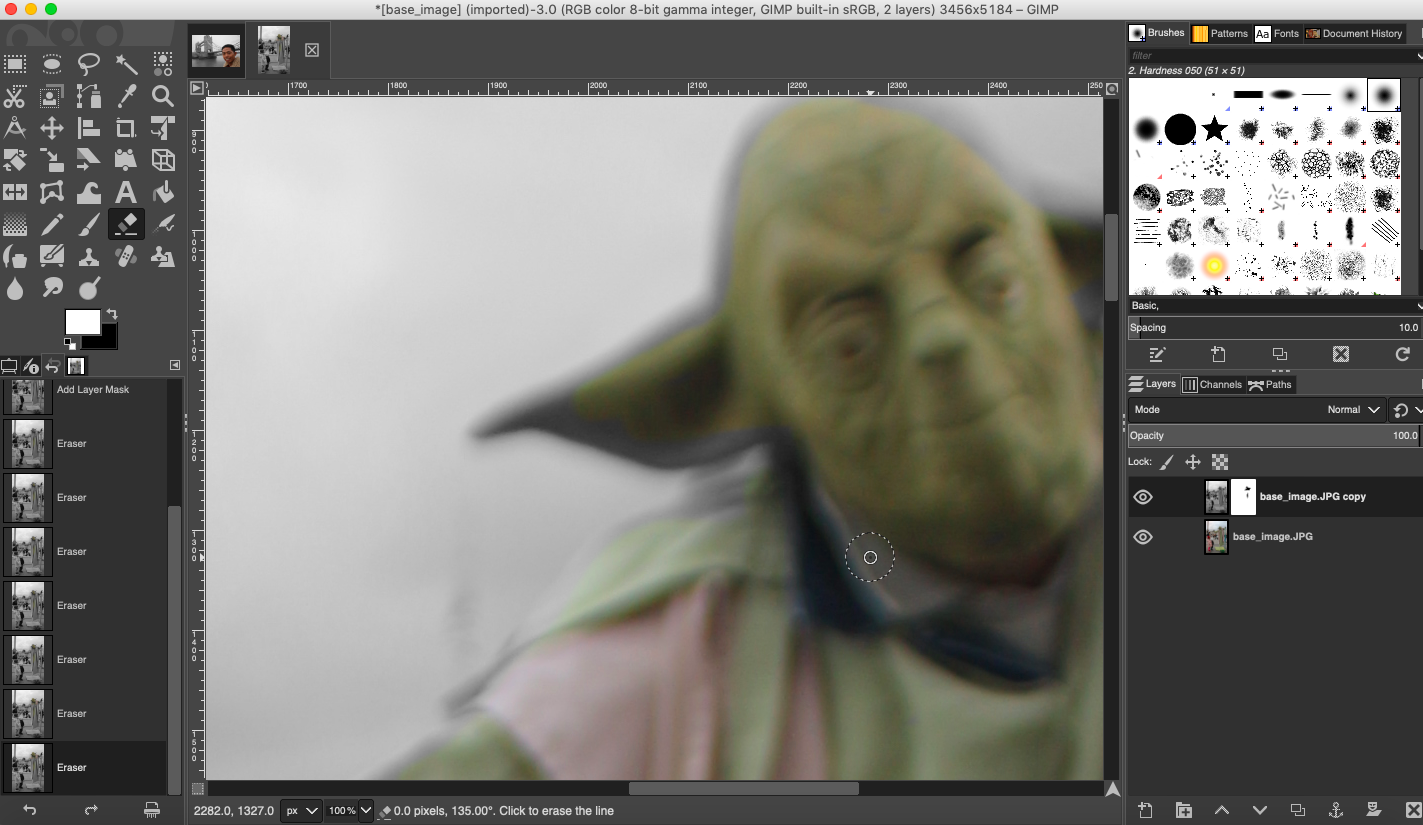
This photo was taken at some lazy afternoon at Trafalgar Square in Central London. I was so tempted to lift the star war eme to terrorize the naive kids. Here is what the image looks like when imported in GIMP.
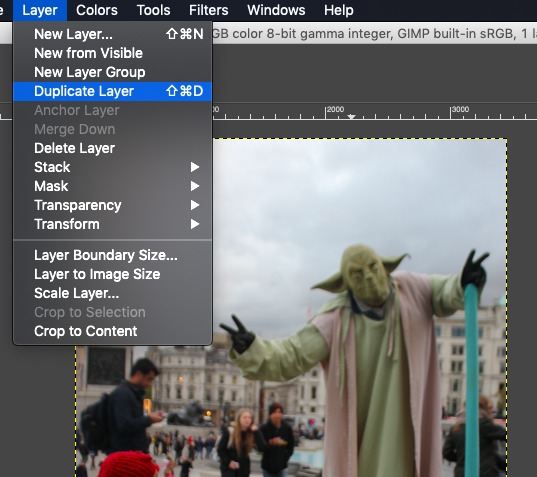
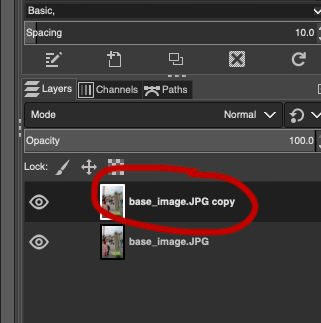
Step 2. Duplicate image from Layer > Duplicate Layer.
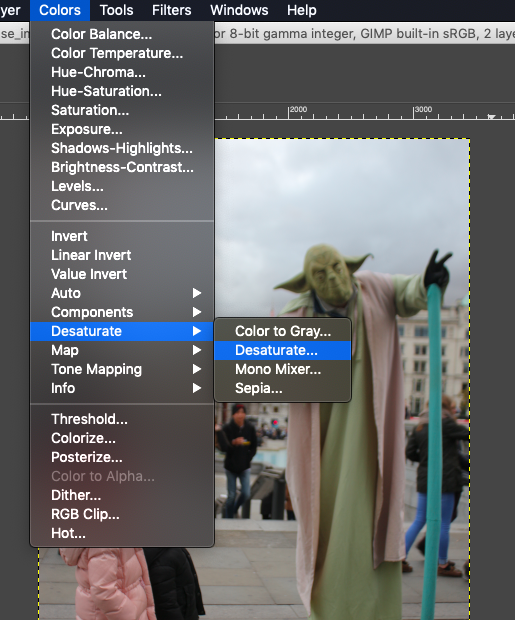
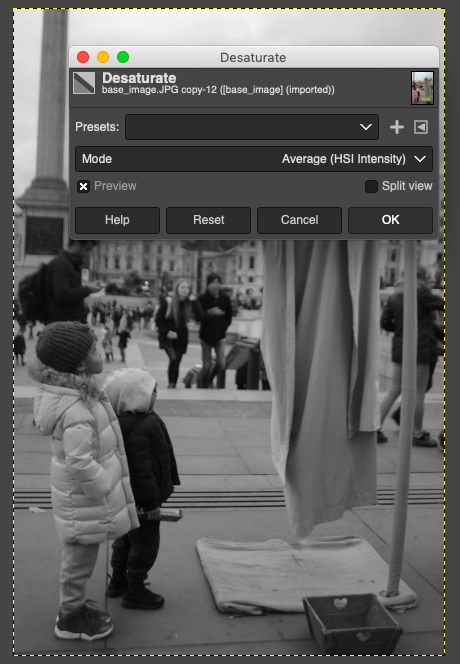
Step 3. Click on the duplicate image and Desaturate (meaning to remove colors) it from Colors > Desaturate > Desaturate and select the mode as Average (HSI Intensity). You should see that the duplicate image turns gray.
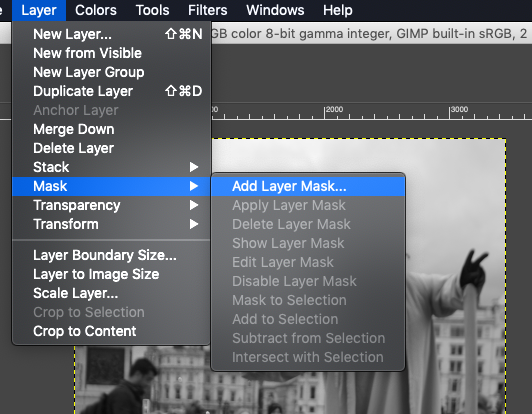
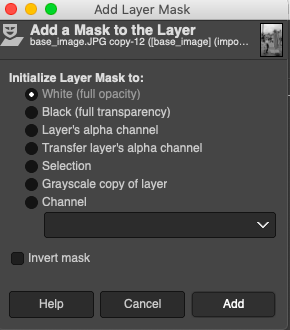
Step 4. Still manipulating with this gray image, we need to add a layer mask. Click through Layer > Mask > Add Layer Mask and select White (full opacity) then add.
Step 5. Next, in the toolbox on the left side, select the eraser tool. At the bottom of the toolbox, make sure that the foreground palette is set to white while the background is black.
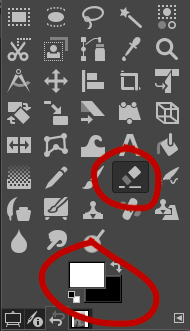
Step 6. Zoom in to your object of interest and with the eraser tool brush through to unmask the color.
I recommend using 400% zoom as it is easier to cleanly resurface the color at the edges of the image.
This is the image that I produced after the selective colorization process.
Here are other photos that I had fun to play with:

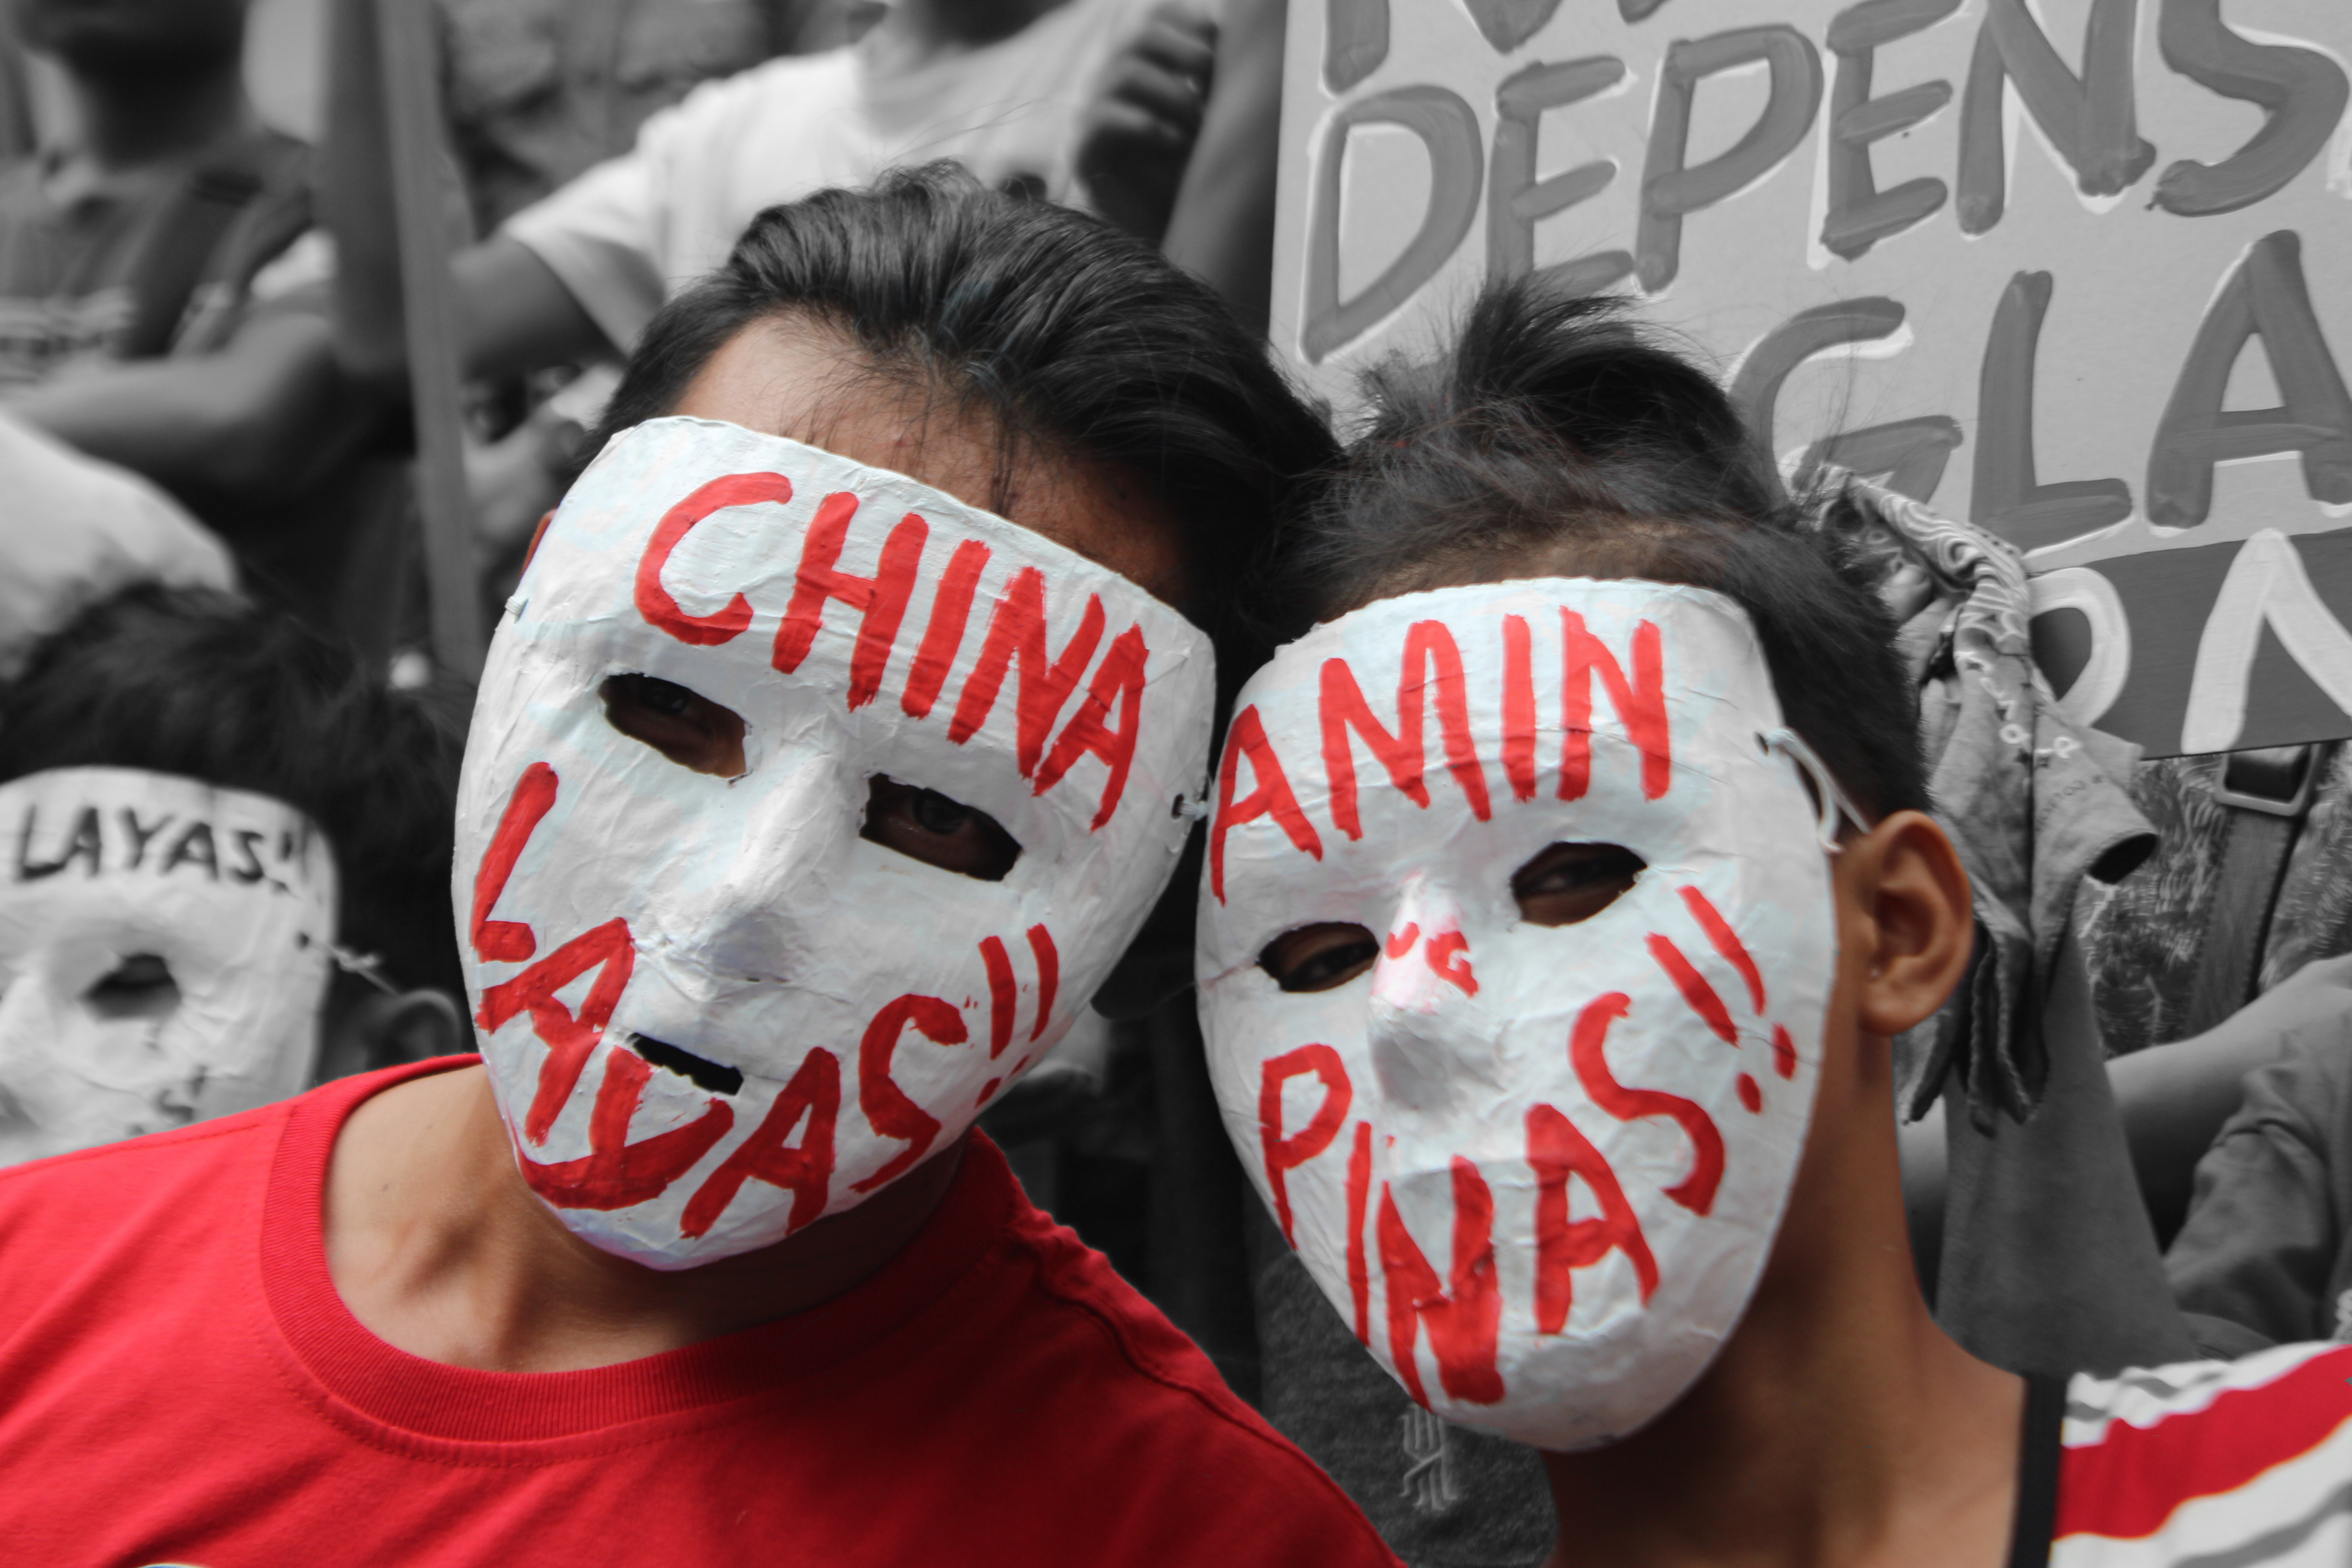
But hey it’s fun! Go on, try it yourself and comment down your best images.
Want to collaborate? Message me in LinkedIn.